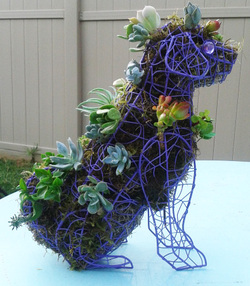
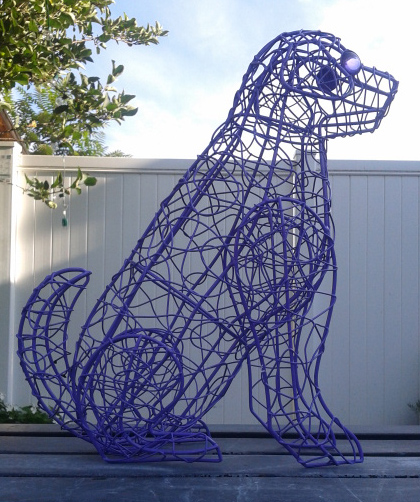
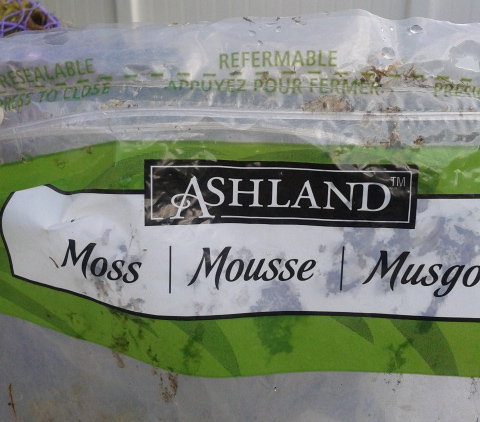
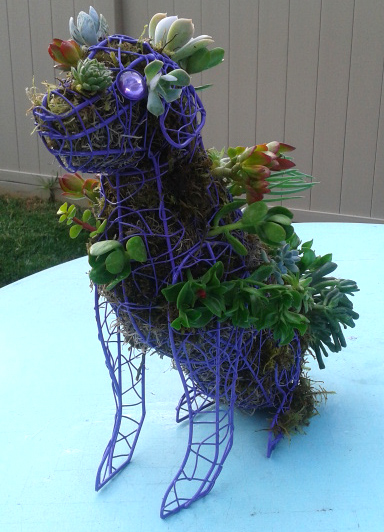
 This time last year, I had already settled into the fact that I wasn't going to find the right materials for my dream centerpieces - succulent dog topiaries! Our wedding theme consisted of our colors: Mint & Marigold, a little bit of Moroccan influence, succulents, and our two fur babies, Beatle and Nietszche. It would have been perfect to carry the dog motif from the invitations to the tabletops, but alas, no affordable dog topiary forms that fit my under-10k-for-the-whole-thing budget could be found. I had grown, collected and foraged for the succulents that would eventually be made into modern white and gold-sprayed centerpieces that worked and were beautiful. But last week on a trip down an aisle in Target's garden area, I found an end cap with these amazing wire dogs. There they were! The form for my dog topiary! Only a year late, but marked down from $40 to $12! So I had to get one and and make my little guy for the back yard. So I read the DIY's for succulent dog topiary (read only - http://www.pallensmith.com/articles/16475) and realized that what I needed wasn't moss and soil, but just moss. Apparently the succulents are able to actually root in the moss. Now I am a bit skeptical on how long the succulent sculpture will last, considering how easily it seems the moss will dry out, but we'll see. So, Step One - get a STURDY wire form (chicken wire is too flimsy for the heavy succulents). Some people say to spray with rustoleum, but I didn't. This is one of the kinds of moss I got from the craft store. First I used spaghnum moss for most of the insides, then I used this kind of green decorative moss for what would be seen and come in contact with the succulents. So, Step Two is to wet the moss. In a large bowl filled 1/2 way with water, I wet first the Spaghnum, (which easiy falls apart when you rip and cut it, so I'm glad I also got the second kind of moss two which is sturdier). Then you squeeze out the Spaghnum and poke it through your holes using a chopstick or your fingers. When that's all done, Step Three is to wet the green moss and add that so that way the moss is in there really tight, and the green moss looks prettier, IMO. Step Four is to gather your succulents, trim some leaves if they are a growth off of another stem, but keep ones with roots if you have them (like baby ones on there own, close to the dirt). You just make a hole in the moss, and poke 'em in there. And boom - succulent topiary! Wait until it dry before watering. This gives the succulents time to root because the water can wash away delicate roots. Oh, and if you have one-sided parts of the metal form, like my legs are, you can add moss there and wrap with wire, too, and succulent-ize that.
0 Comments
Leave a Reply. |
AuthorI'm Debra and this is a curated collection of my life's little projects and captured beauty. Sharing stuff I love with you. Archives
October 2016
|




 RSS Feed